
Creating a website requires planning and designing. Creating a multipage website requires designing and managing a user-friendly website. In this article, we will look at the different ways of creating multiple pages in HTML.
Understand the Basics of HTML
Before we dive into the deep concepts of knowledge, we must take into consideration that our article’s motive is to make all the topics understandable for beginners to advanced levels.
Also Read – How to link CSS to HTML easy
We will start with the basics of HTML. We will first look at the basic structure of an HTML page. How it looks HTML is the markup language that uses attributes and tags to create the structure of websites.
<!DOCTYPE html>
<html>
  <head>
    <title>Your Page Title</title>
  </head>
  <body>
    <!-- Your content goes here -->
  </body>
</html>
Create Multiple Pages in HTML
Now that we have some knowledge of HTML and how it works, let’s move on to creating multiple pages in HTML.
Step 1. Creating a Folder
We need a folder where we can organize all the pages of HTML in one place, which can be organized and used by the user according to their choices.
To create a new folder, we need to follow the below steps:
- First of all, select the location where you want to create the folder.
- Now right-click and click on the new button, select the folder option, and click enter.
- Now, rename the folder according to your choice. Here we will name our folder “personal website”.
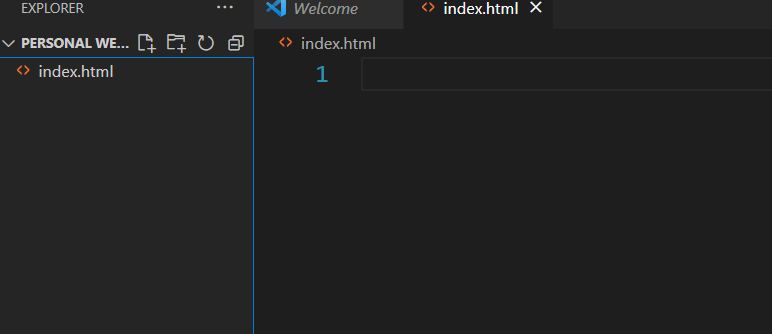
Step 2. Creating a New HTML File
Now open our personal website folder and use the right-click mouse button.
Create a new file name called “index.html”. Also, using a simple text editor like Notepad in Windows and TextEdit in MacOS, we can open our HTML files inside our text editor.
In our project, we have used Visual Studio to open our HTML file.
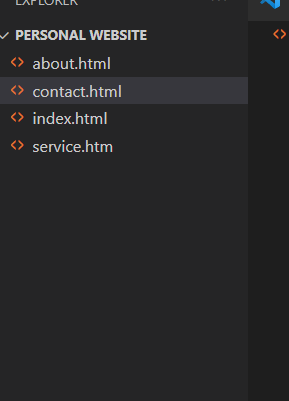
Similarly, we will be creating more html files like about.html, contact.html,service.html.
Step 3. Link Your Web Pages
This is the last step in creating and accessing multiple pages in HTML. We will create a navigation link for our webpage so that users can navigate to different web pages from one page to another.
We will be using the <a> tag to create the navigation link for our HTML page, and using the “href=filename.html” attribute, we will add the location of our HTML files inside our homepage.
<!DOCTYPE html>
<html lang="en">

<head>
    <meta charset="UTF-8">
    <meta name="viewport" content="width=device-width, initial-scale=1.0">
    <title>Portfolio Website</title>
</head>

<body>
    <nav>
        <a href="about.html" target="_blank" rel="noopener noreferrer">About me</a>
        <a href="service.html" target="_blank" rel="noopener noreferrer">Services</a>
        <a href="contact.html" target="_blank" rel="noopener noreferrer">Contact</a>
    </nav>
</body>

</html>
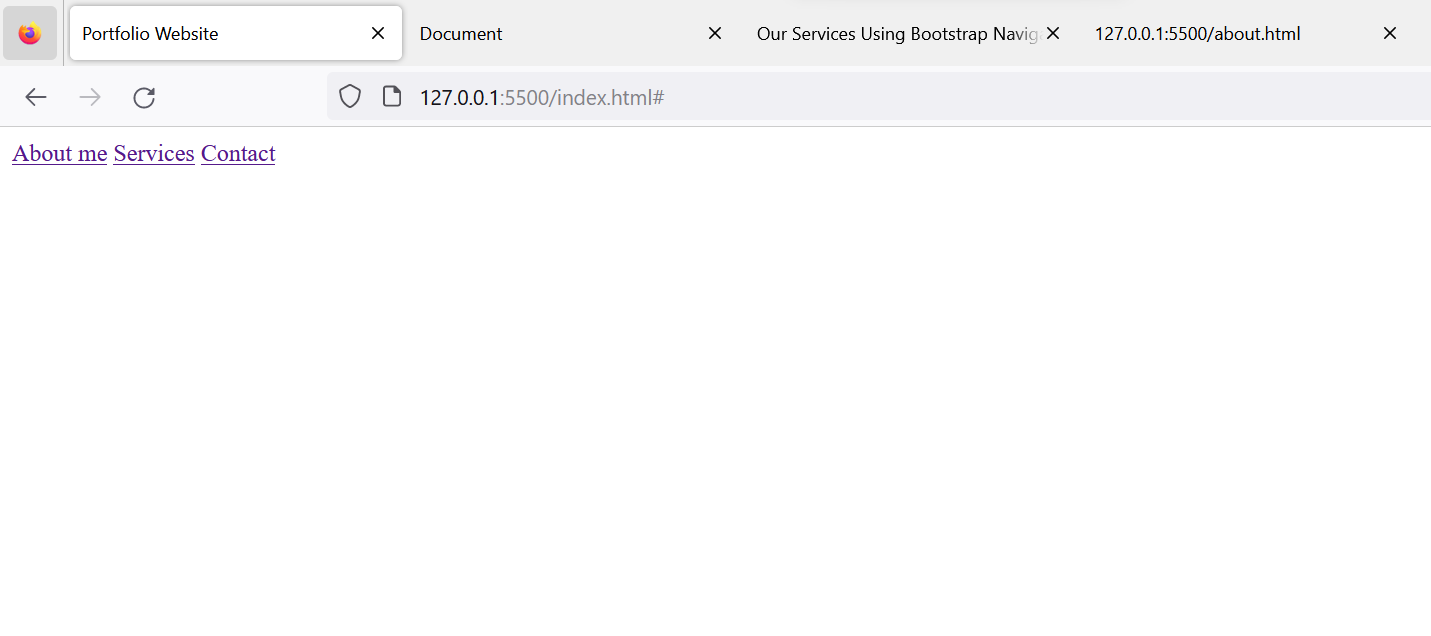
Step 4. Output
Here is what our index.html page looks like. From here we can navigate to other pages by clicking on the links.
Step 5. Deploy Your Website
Now we have created our multiple-page HTML website. We can deploy our HTML webpage server, and we can also deploy it to dedicated servers, or we can deploy it on personal servers so that it can be accessed by the selected user only.
Conclusion
Now that’s everything finished! The destination page will be displayed when you return to the browser and click any of the links in the navigation bar. You are now ready to build multiple pages for different websites.
If you find this article helpful, do share it, find your friends, and give some positive feedback that makes us motivated to bring new concepts to you guys.

