So, now you want to flash the Kali Linux image to a USB stick and to SD Card, coz you want to install it in your pc or RespiberryPi, or maybe you to want to use it as a Live bootable drive.
Well, you are in the right place.
So, Let’s get started.
Things you will need-
- Kali Linux iso file.
- BalenaEtcher(or any other software for flashing the iso image)
- A USB stick or an SD card with SD card reader
- PC(the most important thing)😱
- 15 minutes of your life😥
- mind😡

and here we go..
Step 1:
Down load the required files. you can download the Kali Linux iso file from the Kali Linux website(https://www.kali.org/downloads/) and BalenaEtcher from its website(https://www.balena.io/etcher/).
Step 2:
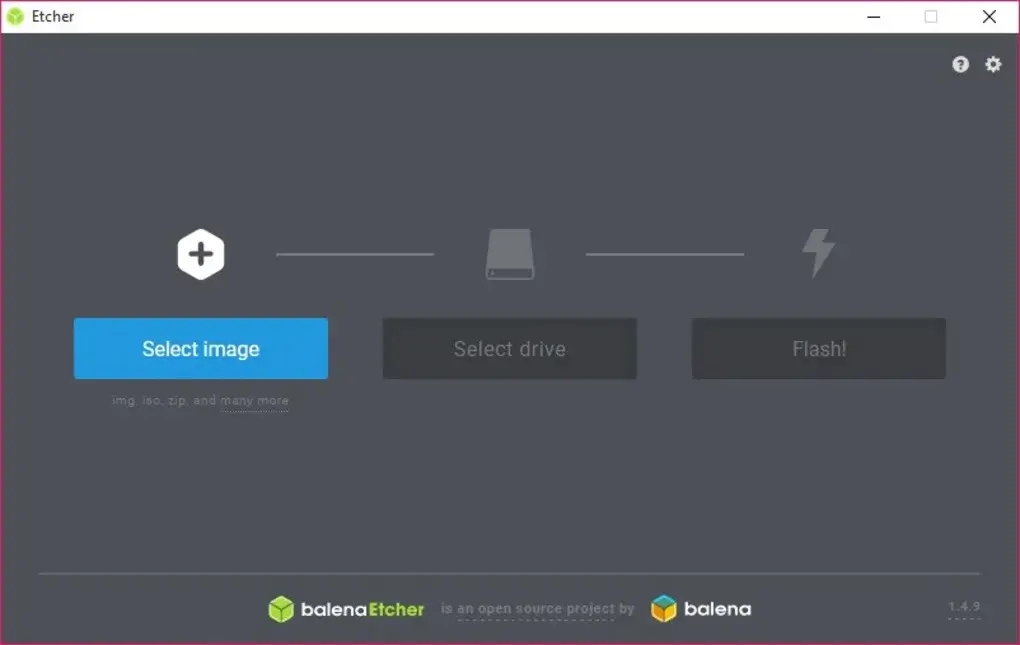
Install the BalenaEtcher in your pc. (Tip: just click next, next, next…, finish 😍) and launch it.
Step 3:
Insert your USB stick or SD card into your pc and formate it. (Yep! you have to formate it)
Step 4:
In BalenaEtcher click on Select Image button and then select the Kali Linux iso file(from where you downloaded the iso file in step 1)
Step 5:
In BalenaEtcher click SelectDrive button and select your USB stick or SD card drive. (make sure that it is not your hard drive.)
Step 6:
In BalenaEtcher click on the Flash button. Wait for the BalenaEtcher to finish its flashing.
And Boom!💥
Now you have a Bootable USB stick or SD card.
🎉Congratulations🎊


